Building Inspection Drone: How It Works
Table of Contents
- What Building Inspection Drones Do
- How Drone Inspection Works: Step-by-Step
- Drone Roof Inspection: Detecting Damage and Deterioration
- Drone Facade Inspection: Assessing Exterior Condition
- Creating a Drone Inspection Checklist for Your Site
- What to Include in Your Drone Inspection Report
- When Drone Inspection Reaches Its Limits
- Frequently Asked Questions
Last Updated: October 12, 2026
What Building Inspection Drones Do
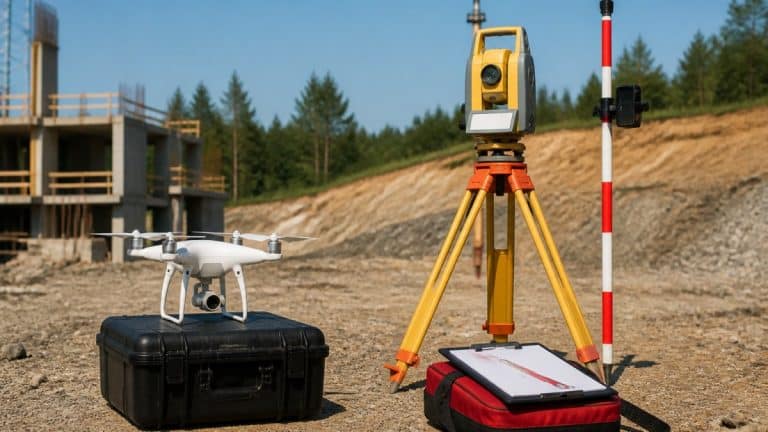
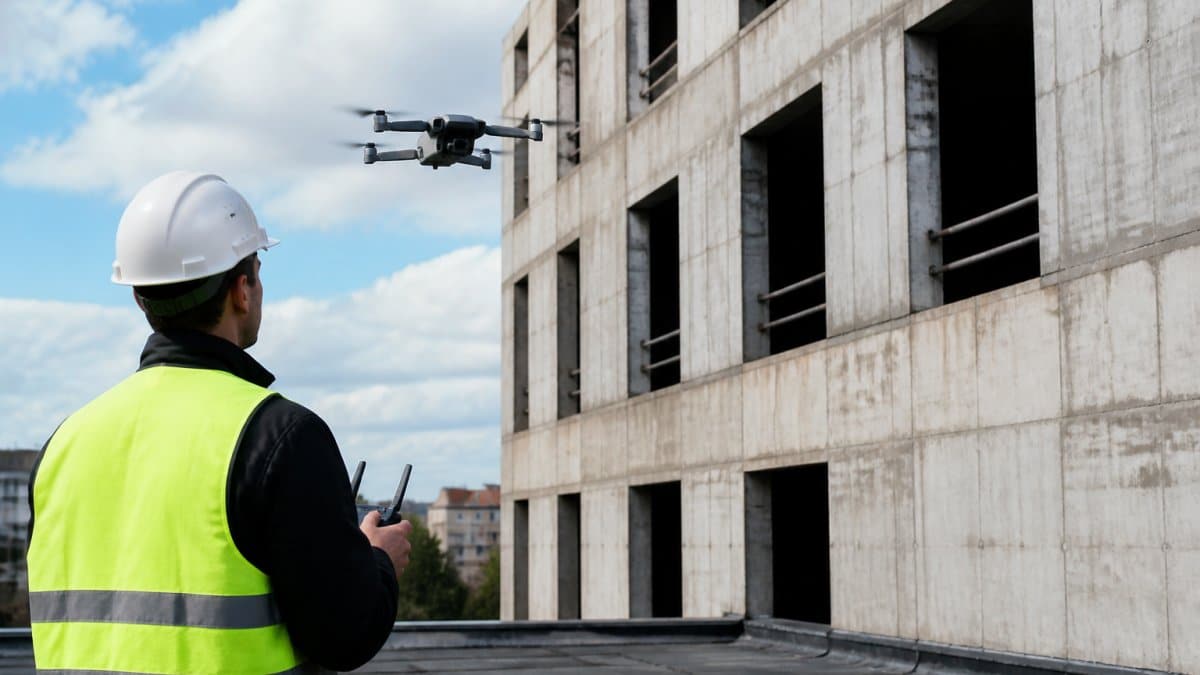
A building inspection drone is an unmanned aerial vehicle with high-resolution cameras and sensors that collect data from hard-to-reach areas.
At SkyeTech Aerial, we deploy building inspection drones to help construction managers, infrastructure professionals, and asset managers identify damage, track progress, and verify compliance while keeping teams safe.
Building inspection drones serve several critical functions:
- Detect structural defects like cracks, spalling, and water intrusion
- Monitor roof condition and identify loose or damaged shingles
- Assess facade integrity and exterior deterioration
The key advantage is speed plus safety: instead of sending workers to dangerous heights, a drone captures the same data far faster.
How Drone Inspection Works: Step-by-Step
A building inspection drone operation follows a structured workflow from planning to data.
Flight Planning and Airspace Clearance
Before any flight, planning determines the flight path, identifies obstacles, and ensures regulatory compliance.
Next, the pilot creates a detailed flight plan using specialized software. This plan specifies:
- Altitude and flight path around the structure
- Camera angles to capture all areas of interest
- Weather conditions and wind limits
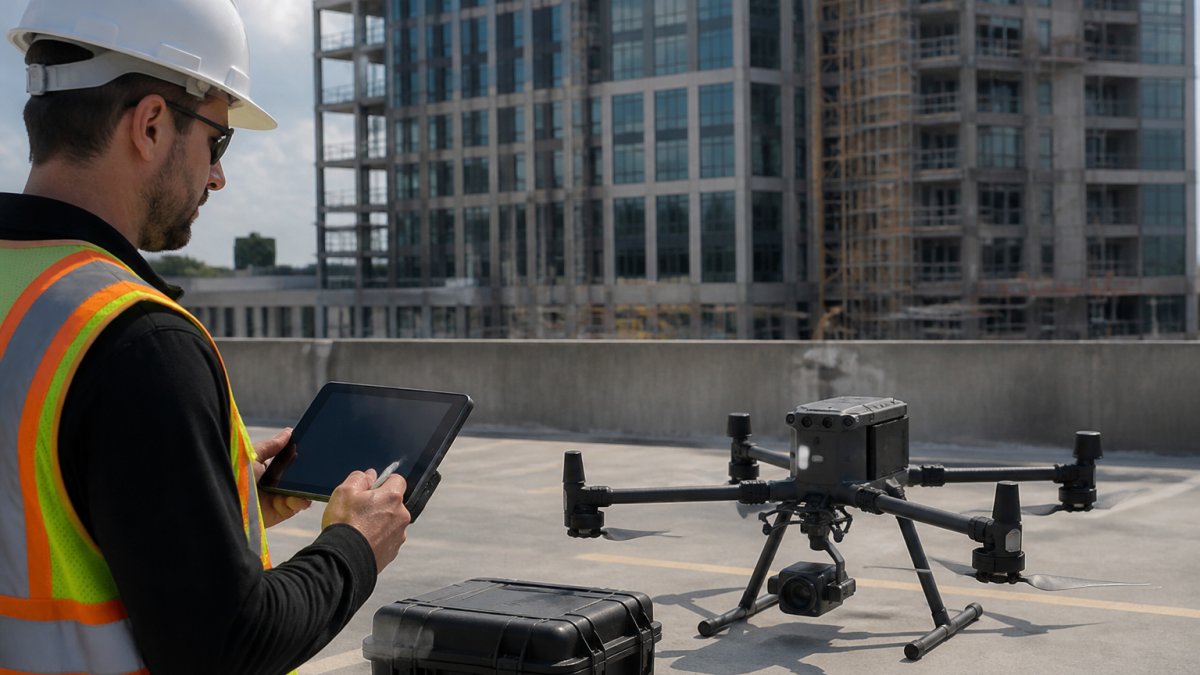
Before launch, the pilot walks the perimeter, identifies hazards like power lines or trees, and marks safe takeoff and landing zones.
Data Capture and Sensor Payload
Once the flight plan is approved, the drone launches and collects data with job-specific sensors.
High-resolution cameras capture visual imagery at 20+ megapixels, revealing cracks, loose materials, and surface damage invisible from the ground.
Thermal imaging sensors detect heat patterns that indicate insulation gaps, moisture intrusion, or electrical hotspots, like water seeping behind a facade.
LiDAR sensors create precise 3D models.
Flight duration typically ranges from 15 to 45 minutes depending on battery capacity and coverage area.
Image Analysis and Defect Identification
After the drone lands, raw imagery and sensor data flow into analysis software where defects are identified and documented.
SkyeTech Aerial uses platforms like DroneDeploy, Pix4D, and DJI Terra to stitch thousands of overlapping images into seamless orthomosaics with centimeter-level accuracy.
Analysts review thermal imagery to flag heat anomalies and examine photos to mark cracks, spalling, loose shingles, and water damage.
Drone Roof Inspection: Detecting Damage and Deterioration
Roof inspections are among the most common uses for building inspection drones. Accessing roofs manually is dangerous and time-consuming.
What a drone reveals on roofs:
- Cracked, curled, or missing shingles
- Deteriorated flashing around penetrations
- Debris accumulation in gutters
Thermal imaging shows heat loss patterns that suggest poor insulation or air leaks, often appearing before visible damage and giving facility managers early warning.
The drone captures the entire roof in a single flight with no blind spots, and the resulting orthomosaic map shows roof condition across the whole surface with pinpoint accuracy.
Drone Facade Inspection: Assessing Exterior Condition
Facades deteriorate from weather, UV exposure, and material fatigue. Facade inspection by drone detects problems before they become safety hazards.
High-resolution imagery reveals:
- Cracked or spalling concrete
- Deteriorated mortar joints in masonry
- Loose or damaged curtain wall panels
Drone inspection reduces risk compared to traditional methods. Workers don’t need to rappel, use lifts, or erect scaffolding.
Facade inspection reports document condition by zone, making it easy to plan repairs systematically.
Creating a Drone Inspection Checklist for Your Site
Most inspection failures are not caused by the drone. They are caused by a missed angle, a poorly lit facade, or a defect photographed but never tied to a location. The checklist below covers the full workflow, from preflight planning through report handoff, so the data you collect is usable the moment it lands.
Phase 1: Preflight Planning
- Confirm the inspection goal in writing (condition assessment, construction progress, warranty claim, insurance documentation)
- Verify airspace authorization and any required waivers before scheduling
- Check weather: wind, gusts, precipitation, visibility, and temperature against the drone’s operating limits
Phase 2: Capture Planning
Coverage is the biggest quality variable. A common pattern is a nadir (straight-down) grid for the roof, an oblique orbit for the facade, then close-range passes for any area flagged during the first look.
- Set overlap high enough for stitching (most mapping software performs best with generous front and side overlap)
- Plan a nadir grid for flat roof surfaces
- Plan oblique passes at multiple angles for facades, parapets, and cornices
Phase 3: Defect Documentation Standards
A defect is only actionable if someone else can find it. For every issue, capture:
- A wide shot showing the defect in context
- A medium shot showing the defect and its immediate surroundings
- A close shot showing the defect itself
Phase 4: Review and Quality Assurance
- Check that every planned area was actually captured before leaving the site
- Confirm images are sharp and properly exposed; reshoot anything blurred or blown out
- Verify that thermal and visual images of the same defect line up
Phase 5: Report Handoff
- Match each defect to a photo, a location, and a recommended action
- Include the methodology, date, weather, and any limitations
- Deliver in a format the recipient can use (PDF for review, spreadsheet for budgeting, map overlay for field crews)
A checklist is not a substitute for pilot judgment, but it makes results repeatable. Applying the same structure across multiple buildings also makes year-over-year comparisons meaningful.
What to Include in Your Drone Inspection Report
A comprehensive inspection report translates raw drone data into actionable information.
Executive summary:
Methodology section:
Defect documentation:
For each defect found, include:
- Location (roof zone, facade section, specific address)
- Description and severity (minor, moderate, severe)
- High-resolution photo showing the defect
Thermal imagery analysis:
If thermal sensors were used, include:
- Thermal images with temperature scale
- Interpretation of anomalies
- Areas of concern flagged for follow-up
Orthomosaic maps:
Include full-coverage aerial maps showing the entire structure.
Cost and timeline estimates:
Based on defects identified, provide rough estimates for repair costs and recommended timelines.
Recommendations:
Summarize the most urgent repairs and preventive maintenance needed, prioritized by risk level and cost-effectiveness.
A well-structured report becomes the foundation for repair planning, contractor bidding, and insurance claims.
When Drone Inspection Reaches Its Limits
A drone is a camera platform, not a diagnostic tool. It can show you that something looks wrong, but often cannot tell you why or how serious the problem is. Knowing where the method stops being useful separates a good inspection plan from an expensive photo album.
Weather and Visibility
Drones are limited by wind, precipitation, fog, and low light. Gusts above the aircraft’s rated limit make precise station-keeping impossible, blurring images and risking an emergency landing. Rain and fog scatter light and can damage electronics. Harsh midday sun creates shadows that hide facade cracks, while flat overcast light washes out surface texture.
Occlusions and Hidden Areas
A drone sees surfaces. It cannot see behind cladding, inside wall cavities, under roof membranes, or beneath insulation. Soffits, recessed balconies, mechanical penthouses, and dense rooftop equipment create blind spots requiring a different vantage point. When a defect is suspected in an occluded area, the follow-up is usually a hands-on inspection, a borescope, or a moisture meter rather than another flight.
Sensor Limits
Each sensor answers a different question, and none answers all of them:
- RGB cameras show surface appearance but cannot confirm material strength, thickness, or internal condition.
- Thermal cameras show temperature differences, which can indicate moisture or heat loss, but they can also be fooled by reflected heat, sun loading, and wind. A thermal anomaly is a prompt for further investigation, not a diagnosis.
- LiDAR and photogrammetry measure geometry and surface irregularities, but they do not detect subsurface defects or material degradation.
A hairline crack visible in a photo may still need hands-on assessment to determine whether it is cosmetic or structural, and a thermal hotspot may need an electrician, not an inspector.
Defects That Require Hands-On Assessment
Some conditions cannot be confirmed from the air:
- Structural cracks where width, depth, or movement must be measured
- Corrosion under coatings or behind cladding
- Roof membrane adhesion and seam integrity
For these, drone imagery is best used to locate and prioritize the areas a specialist should examine up close.
Regulatory and Site Restrictions
Airspace rules, temporary flight restrictions, and site-specific policies can prohibit flight entirely. Airports, military facilities, certain government buildings, and some industrial sites fall into this category. Even where flight is allowed, a property owner may decline permission or a tenant may object. In those cases, the inspection proceeds with traditional access methods.
Privacy and Data Handling
Aerial imagery can capture neighboring properties, vehicles, and people who did not consent to being recorded. Even where flight is lawful, retaining or publishing that imagery can create problems. Limit capture to the target structure, avoid angling sensors toward adjacent properties, and follow a written data retention policy. Requirements vary by location, so confirm what applies before flying.
Electrical and Hazardous Environments
Flying near energized high-voltage equipment, cranes, or active industrial processes introduces collision and interference risk. Some sites require a shutdown or coordinated safety plan before any aircraft can approach; when that coordination is not possible, ground-based or rope-access inspection is safer.
When to Use Another Method
The decision is usually straightforward:
- Use a drone for large exterior surfaces, roofs, facades, and progress documentation where visual and thermal data are sufficient.
- Use a drone plus ground inspection when you need to confirm what the imagery suggests.
- Use hands-on or specialist testing when the question is about material condition, structural capacity, or hidden moisture.
The most useful inspection programs combine methods. Drone data tells you where to look; the follow-up method tells you what you are looking at.
Frequently Asked Questions
What is a drone building inspection?
A building inspection drone is an unmanned aerial vehicle (UAV) equipped with high-resolution cameras and thermal sensors that capture detailed imagery and video footage of roofs, facades, and structural elements. The drone collects visual data and thermal information to identify cracks, spalling, water intrusion, loose shingles, and other defects without requiring workers to access ladders, scaffolding, or lifts. The collected data is then analyzed to produce an inspection report with findings and recommendations.
How accurate are drone inspection images for detecting building defects?
High-resolution camera systems on building inspection drones capture imagery at centimeter-level accuracy, allowing inspectors to identify small defects like hairline cracks, loose tiles, and areas of water intrusion. Thermal imaging sensors detect heat loss, insulation gaps, and electrical hotspots that are invisible to the naked eye. This precision helps catch structural damage, moisture problems, and deterioration early, often before they become expensive repairs. Accuracy depends on flight altitude, camera quality, and image analysis expertise.
What should be included in a drone inspection report?
A comprehensive drone inspection report includes high-resolution photographs and video footage showing specific defects, their location on the building, and severity assessment. It should document findings such as cracks, spalling, water intrusion, thermal anomalies, and loose or missing components. The report typically includes an executive summary, detailed condition assessment by building section (roof, facade, structural elements), recommendations for repairs, and prioritization of urgent issues. Many reports also include orthomosaics (stitched aerial images) and thermal maps for reference.
Can a drone inspect a roof and building facade safely?
Yes. Drone roof and facade inspections eliminate the need for workers to climb ladders, use scaffolding, or operate lifts, reducing fall risk and worker injury. A FAA-certified drone pilot operates the unmanned aerial vehicle from the ground, capturing high-definition imagery and thermal data from safe distances. This approach is faster and safer than traditional access methods, particularly for steep roofs, tall buildings, and hard-to-reach facades. Inspections are conducted according to FAA Part 107 standards to ensure safe flight operations.
What can a drone inspection checklist help me plan for?
A drone inspection checklist ensures you capture all necessary data for your specific assessment needs. It should include building sections to inspect (roof, facade, foundation, parking lot), weather conditions required for flight, specific defects to look for (cracks, water damage, thermal anomalies), flight altitude and camera settings, and any site-specific hazards or airspace restrictions. A detailed checklist helps coordinate with the drone pilot, ensures complete coverage, reduces missed findings, and accelerates the inspection process.
Ready to see how drone inspection can improve your project outcomes? Request a free quote from SkyeTech Aerial and discover how high-precision aerial data keeps your projects on schedule and within budget. Our FAA-certified pilots and fully insured operations ensure every flight meets the highest safety and compliance standards.