7 Ways Drones Improve Construction Site Safety
Quick Summary
Drones improve construction site safety by giving teams an overhead view of hazards, letting them survey unstable ground without crews walking it, and reducing the need for risky work at height. Regular flights, checklists and tracked corrective actions turn aerial imagery into measurable safety gains.
- Map unstable ground with a remote survey before crews are assigned to that area.
- Fly consistent routes at set intervals and compare each flight against the last.
- Inspect roofs and scaffolds remotely so people climb only when repairs are confirmed.
- Record each hazard with a location, owner and deadline, then capture a follow-up image.
- Track hazards found, time to fix and work-at-height checks replaced each month.
Table of Contents
- How Drones Help Construction Site Safety Teams See Hazards Sooner
- Way 1: Remote Site Surveys That Keep Crews Off Unstable Ground
- Way 2: Construction Site Drone Monitoring Between Inspections
- Way 3: Construction Site Hazard Identification From Above
- Way 4: Reducing Work at Height by Inspecting Roofs and Scaffolds Remotely
- Way 5: Drone Mapping for Construction to Plan Safer Work Zones
- Way 6: Documenting Site Conditions and Turning Observations Into Corrective Actions
- Way 7: Measuring Safety Outcomes and Improving Reporting Over Time
- Final Thoughts on Construction Site Safety With Drones
- Frequently Asked Questions
How Drones Help Construction Site Safety Teams See Hazards Sooner
Last Updated: November 12, 2026
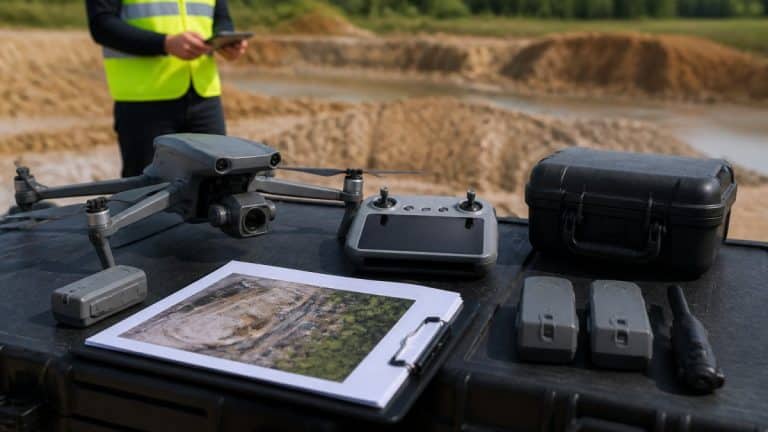
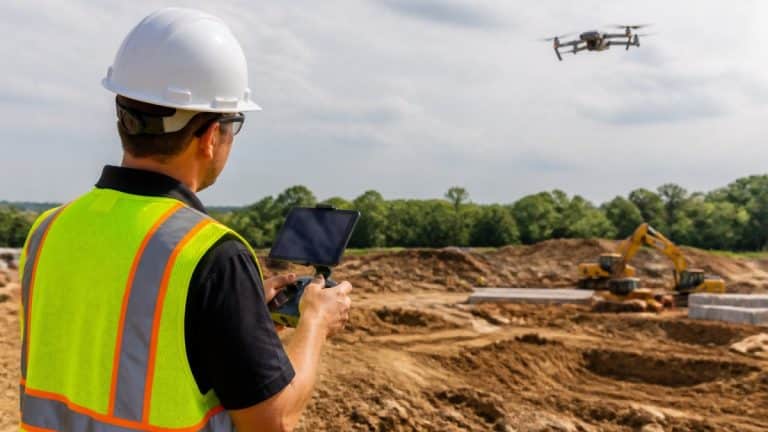
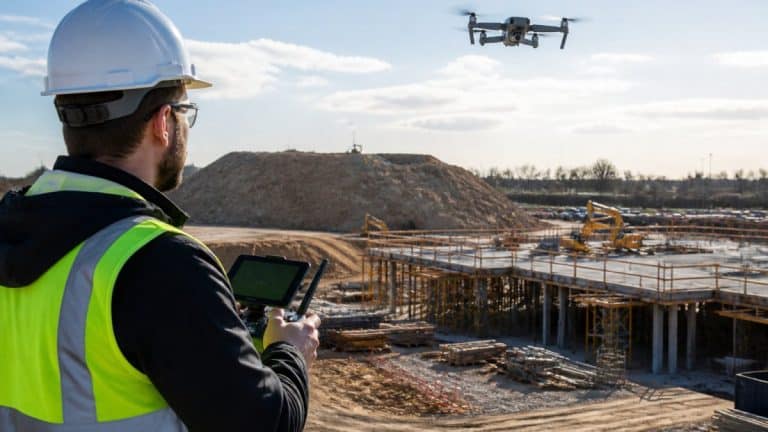
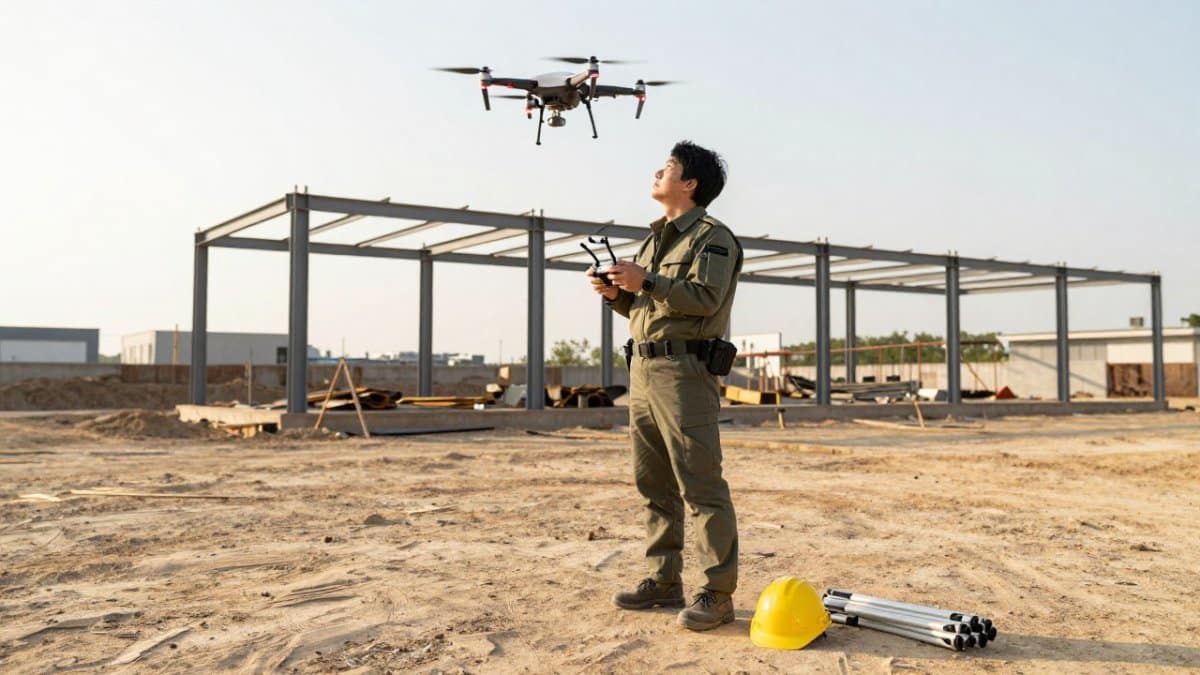
Construction is one of the most dangerous industries to work in, and safety teams are always looking for ways to spot problems before someone gets hurt. Drones give them a new vantage point. From the air, a safety manager can see an entire construction site at once, including roof edges, scaffolding, excavations, and areas that are hard to reach on foot.
A drone can cover that same ground in minutes, giving teams a faster, more complete view of what is happening on site. Learn how drone roof inspections let crews check roofs and scaffolds without climbing.
This guide covers seven practical ways a construction site drone program can improve safety. Each section explains what to do and why it matters. A short example shows how it works in the field.
Here is the short version: a drone gives your team eyes where people should not be standing. That alone changes how quickly hazards get found.
Way 1: Remote Site Surveys That Keep Crews Off Unstable Ground
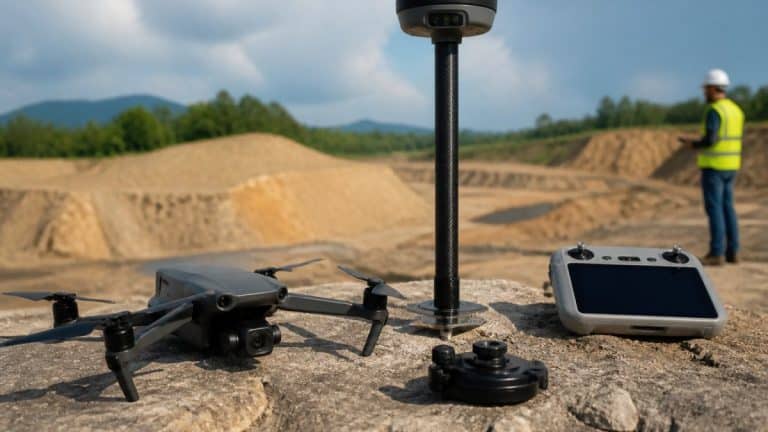
Some parts of a site are unsafe to walk, even for an experienced crew. Soft soil, unfinished slabs, and steep embankments all carry risk. A remote survey lets you map these areas without anyone stepping onto them.
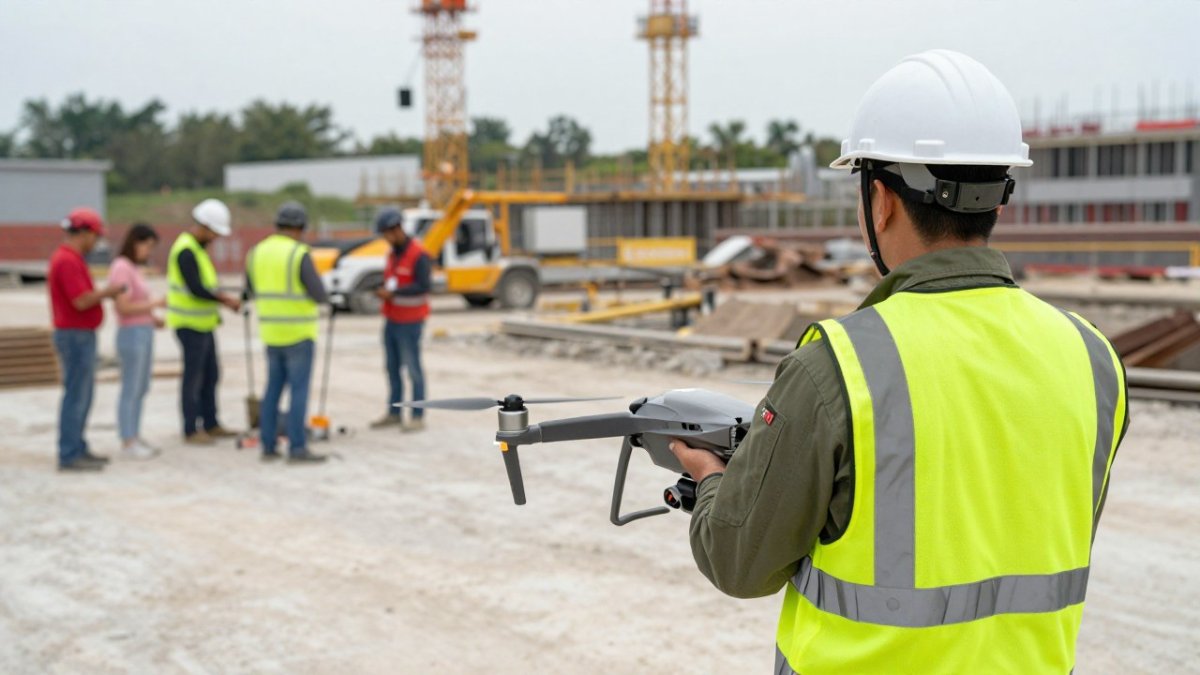
Start by defining the survey area and noting known risks. See what a drone surveying service for construction includes if you would rather hire a pilot to fly the survey for you. Fly a planned route that captures overlapping images. Review the output before anyone enters the zone.
- Mark unstable ground on the site map before work begins
- Fly the survey before crews are assigned to the area
- Share the imagery with the foreman before any walkthrough
Example: A crew preparing a trench near a retaining wall used a drone survey to spot a cracked edge. They rerouted their plan and kept workers clear of that section.
Way 2: Construction Site Drone Monitoring Between Inspections
Formal inspections happen on a schedule, but hazards can appear between visits. Regular drone flights fill that gap. See how construction progress aerial documentation works in practice across a project’s timeline. Think of it as a check-in that catches changes early.
Set a flight cadence that matches your project pace. Find a drone construction site monitoring Hudson Valley service if you are building in the region and want local support. Many teams fly weekly or after major phases. Compare each flight to the last one to spot new debris, blocked exits, or material piles that shift.
- Schedule flights at consistent intervals
- Compare new images against earlier ones
- Log any changes and assign follow-up
Example: A monitoring flight revealed a stacked pallet blocking an emergency route. The site team cleared it the same day.
To make monitoring between inspections actually work, treat each flight as a short, repeatable mission rather than an ad hoc photo shoot. Before takeoff, define the specific zones you will capture, typically the active work face, material storage, access routes, and any area where conditions changed since the last flight. Fly the same route at the same altitude each time so images line up and changes are easy to spot.
After the flight, review the imagery against the previous set side by side. Look for new obstructions in travel paths, materials stacked against guardrails, equipment parked under overhead lines, and any excavation edges that have softened or slumped. Log each change with a location description and a photo reference, then assign a responsible person and a response deadline.
Watch out: Flying the same route at different altitudes or angles makes comparison unreliable; lock in flight parameters and note them in your log so future flights match.
Monitoring flights also give you a way to verify that previously identified hazards stay fixed. If a guardrail was repaired last week, a quick aerial check confirms it is still in place without sending someone to climb or walk the area. Over time, this cadence builds a visual history of the site that supports incident investigations and shows due diligence to insurers and owners.
Way 3: Construction Site Hazard Identification From Above
Hazards often hide in plain sight. From ground level, a crew may miss a loose cable run, an unguarded opening, or a tool left on a roof. Overhead imagery makes these easier to find.
Review each flight with a checklist. Look for open floor penetrations, unsecured materials, equipment near power lines, and areas without barriers. Flag each finding with its location so the crew can find it quickly.
- Check for unguarded openings and edges
- Look for materials stored near travel paths
- Note equipment operating close to overhead lines
Watch out: Images show what is visible from above. Always confirm a flagged hazard on the ground before closing it out.
Way 4: Reducing Work at Height by Inspecting Roofs and Scaffolds Remotely
Work at height is a leading source of serious injury on construction sites. Every time someone climbs a ladder or walks a roof just to check a condition, risk rises. Drones can handle many of those checks instead.
Use a drone to inspect roofs, scaffolding, bridges, and other elevated areas. Capture close-up images of connections, guardrails, and surface damage. Only send a person up when the imagery shows a real need.
- Inspect scaffolding joints and planking from the air
- Check roof edges, guardrails, and penetrations remotely
- Reserve climbing for confirmed repairs
Way 5: Drone Mapping for Construction to Plan Safer Work Zones
Good planning keeps workers out of each other’s way. Drone mapping creates an accurate, up-to-date picture of the site. Planners can use that picture to set safe routes, staging areas, and exclusion zones.
Build a current map at key project milestones. Explore how construction site drone mapping and analysis turns imagery into planning-ready layouts. Use it to plan crane swing zones, pedestrian paths, and material staging. Share the map with every trade so everyone works from the same layout.
- Map the site at major milestones
- Plan crane and equipment zones on the current map
- Keep pedestrian routes separate from heavy traffic
Example: A map showed that a delivery route crossed the crane’s swing area. The team moved the staging zone before the next delivery arrived.
Way 6: Documenting Site Conditions and Turning Observations Into Corrective Actions
Finding a hazard is only half the job. The other half is fixing it and proving it was fixed. Drone imagery gives you a time-stamped record of conditions and a clear trail from observation to correction.
For each finding, record the location, the issue, the owner, and the due date. After the fix, capture a follow-up image. This creates a simple loop that protects your team and your records.
- Record each observation with a photo and location
- Assign a responsible person and a deadline
- Capture a follow-up image to confirm the fix
Good documentation also supports conversations with subcontractors and insurers, since it shows exactly what was seen and when.
Way 7: Measuring Safety Outcomes and Improving Reporting Over Time
A drone program should improve safety in ways you can measure. Track simple numbers over time to see whether the program is working. Tracking hazards flagged, correction times, and routine climbs avoided can also show where drone-powered cleaning for safety fits into a broader effort to reduce exposure to risky tasks.
Review these numbers each month with your safety team. Adjust flight frequency or checklists where the data points to gaps. Share the results with site leaders so the program keeps support.
- Track hazards found and corrected each month
- Measure average time from finding to fix
- Count work-at-height checks replaced by remote inspections
A regular review turns one-off flights into a steady safety habit.
To make measurement meaningful, start with a baseline before you launch the program. Record how many hazards your team currently identifies per month, how long corrections typically take, and how many work-at-height inspections are performed. Then track the same measures after drone flights begin. Useful indicators include hazards identified, closure rate, exposure avoided, and near-miss trends in areas covered by drone monitoring.
Set a simple target for each measure, for example, closing 90 percent of flagged hazards within seven days, and review performance monthly. When a metric slips, look at whether flight frequency, checklist content, or follow-up assignments need adjustment. Share a one-page summary with site leadership each month showing the trend lines and any corrective actions taken. This keeps the program visible and supported without requiring a complex dashboard.
Watch out: Counting only hazards found can reward teams for flying more often rather than fixing more; pair identification metrics with closure and exposure-reduction measures so the program is judged on outcomes, not activity.
Finally, feed the results back into planning. If aerial monitoring consistently catches blocked exits in one area, adjust staging or signage there. If work-at-height checks are rarely needed on one structure, reduce flight frequency over it. Measurement is not a report card, it is a steering wheel for the program.
The article suggests tracking a few simple measures over time to see whether the drone program is working.
| Measure | What it shows | How to use it |
|---|---|---|
| Hazards found and corrected | Program output each month | Review monthly with the safety team |
| Time from finding to fix | Speed of corrective action | Compare against a target and watch for slipping |
| Work-at-height checks replaced | Reduced climbing and exposure | Count remote inspections that replace in-person checks |
| Baseline before launch | Starting point for comparison | Record current hazard counts and correction times first |
Final Thoughts on Construction Site Safety With Drones
Drones make it easier to see hazards early, reduce work at height, and keep records that prove your corrective actions worked. Start with one or two of these seven ways, measure the results, and expand from there.
If you want help setting up construction site safety drone flights, SkyeTech Aerial can plan the work with you. Request a free quote to talk through your site.
Frequently Asked Questions
How can drones help identify construction site hazards?
Drones capture aerial photos and video of the entire site in a single flight, which lets safety teams spot unguarded edges, unstable soil, blocked egress routes and equipment placed too close to excavations. Because the images can be reviewed at a desk, supervisors can flag hazards before a crew walks into the area. Many teams compare each new flight against the previous one to catch changes early, which is especially useful on sites where conditions shift daily.
Can drones inspect roofs and other hard-to-reach areas?
Yes. Drones are commonly used to inspect roofs, scaffolding, bridges and elevated steel without requiring workers to climb or use lifts. Pilots can fly close to surfaces and capture high-resolution images that reveal cracks, loose fasteners, damaged flashing or missing guardrails. Results still need to be verified on the ground for critical findings, and the inspection should be planned so the drone does not operate over workers or public areas.
How often should a construction site be surveyed with a drone?
The right schedule depends on how quickly the site changes, the type of work underway and the hazards involved. Many project teams fly at key milestones, such as after excavation, before concrete pours and before major structural phases, and add flights after severe weather. Regular flights create a record that makes it easier to compare conditions over time. Your safety professional and drone provider can help set a schedule that fits your project.
What safety precautions should drone operators follow on a construction site?
Drone operations on a construction site should follow applicable FAA rules for remote pilots, including proper certification and compliance with airspace rules. Teams should brief crews before each flight, establish a safe takeoff and landing zone, keep people out of the drone’s flight path and confirm that the operation does not interfere with active crane or helicopter activity. Companies should also review insurance coverage and document each flight for their records.