Best Drone Mapping Software 2026: A Buyer’s Guide
Table of Contents
- How to Choose Drone Mapping Software in 2026
- Cloud vs. Desktop Processing: Latency, Scalability, and Cost
- Photogrammetry vs LiDAR for Construction: Which Fits Your Project?
- Best Drone Mapping Software for Construction: Key Capabilities
- How to Create 3D Site Models with Drones
- What You’ll Need
- Step 1: Plan the Flight [Time: 20-30 minutes]
- Step 2: Set Ground Control [Time: 30-60 minutes]
- Step 3: Capture Imagery [Time: 20-45 minutes]
- Step 4: Process and Georeference [Time: 1-3 hours]
- Step 5: Export and Review [Time: 15-30 minutes]
- Drone Mapping Workflow Best Practices
- Frequently Asked Questions
Last Updated: September 30, 2026
How to Choose Drone Mapping Software in 2026
Choosing the best drone mapping software 2026 starts with your hardware, not the feature list. Drone mapping software turns aerial images into measurable outputs like orthomosaics, point clouds, and 3D models. At SkyeTech Aerial, we’ve watched crews buy licenses for tools their laptops can’t run and their sensors can’t feed. Here’s how to match software to your aircraft, budget, and deliverables.
Processing Power and Hardware Compatibility
The most common mistake is buying software before checking what your machine can process. Photogrammetry is memory-hungry: a few hundred high-resolution images can consume tens of gigabytes of RAM during alignment.
Check three things before you commit:
- GPU and VRAM: Most desktop photogrammetry engines lean on CUDA-capable graphics cards. Integrated graphics will stall on larger datasets.
- RAM ceiling: Datasets of 500+ images routinely need 32 GB or more to avoid crashes mid-render.
- Sensor and metadata support: Confirm the software reads the EXIF data and camera profiles your drone writes. Some engines handle rolling-shutter sensors poorly, warping orthomosaic edges.
Pricing Models: Subscription vs. Perpetual License
Subscription pricing dominates the market, and for most teams it’s the right call: updates, new sensor support, and cloud credits bundled into a monthly or annual fee. The trade-off is that costs never stop.
A practical way to decide:
|
Your Situation |
Better Fit |
Why |
|---|---|---|
|
Varied project types, mixed sensors |
Subscription |
Ongoing sensor and format support |
|
Fixed workflow, stable hardware |
Perpetual |
No recurring fee, predictable output |
|
Field teams needing cloud access |
Subscription |
Processing scales with demand |
|
Air-gapped or remote sites |
Perpetual (desktop) |
No internet dependency |
Cloud vs. Desktop Processing: Latency, Scalability, and Cost
Cloud processing wins on scalability; desktop wins on control and long-run cost. What matters is what you actually pay, what you wait for, and how each path hands data to the rest of your stack.
The real cost structure of each path
Desktop software looks cheaper because the license is the only line item you see. It isn’t. A workstation that can chew through a 1,500-image dataset needs a discrete GPU with 8 GB or more of VRAM, 32-64 GB of RAM, and fast NVMe storage. If you don’t own that machine, the hardware is part of the software decision.
Latency is an upload problem, not a render problem
Cloud render times are usually competitive; the bottleneck is the pipe. A 1,000-image dataset from a 20 MP sensor can run 40-80 GB. On a 20 Mbps upload connection, that’s hours of transfer before processing starts; on 500 Mbps, it’s minutes. Do the math on your own connection before blaming the platform.
Where each path breaks down
- Cloud breaks on: large multi-site weeks where credit consumption outruns the plan, poor field connectivity, and projects where the client contract restricts where imagery can be stored.
- Desktop breaks on: peak-season overflow, teams without GPU workstations, and collaboration, sharing a 60 GB project folder is not the same as sharing a link.
The interoperability question nobody asks
Whichever path you pick, the deliverable has to leave the platform. Cloud and desktop ecosystems diverge here in ways that matter more than render speed:
- Cloud platforms are strong at finished deliverables (orthomosaics, meshes, PDF reports) but weaker at pulling intermediate products, dense point clouds, calibration reports, tie points, into desktop photogrammetry or GIS.
- Desktop engines give you more control over intermediate outputs and let you re-run alignment with different parameters when a dataset fails.
- GIS handoff is the common failure point. Confirm your platform exports GeoTIFF with a correct coordinate reference system and world file, LAS or LAZ point clouds with preserved classification, and DXF or SHP vectors for CAD or GIS. If the export drops the CRS, your analyst inherits a georeferencing problem.
Photogrammetry vs LiDAR for Construction: Which Fits Your Project?
Photogrammetry and LiDAR answer different questions. Photogrammetry reconstructs geometry and color from overlapping images and excels at orthomosaics, surface models, and visual documentation. LiDAR measures distance with laser pulses and performs better under dense canopy, in low light, and on low-texture surfaces like fresh concrete or asphalt. The construction version is about accuracy, cost per acre, and what your downstream team can use.
Accuracy: what each method realistically delivers
Photogrammetry accuracy depends almost entirely on georeferencing. With ground control points surveyed to a known coordinate system, most practitioners report relative accuracy in the low-centimeter range on well-textured surfaces. Without GCPs, or relying on onboard GPS alone, expect meter-level drift that makes volume calculations unreliable. RTK- or PPK-equipped aircraft close most of that gap, but don’t eliminate the need for a check point.
Cost per acre and processing load
Photogrammetry is cheaper on both ends: the sensor is the camera you already own, and processing scales with image count rather than point density. LiDAR requires a dedicated payload, and its point clouds can be several times larger than a photogrammetric dense cloud for the same site, more storage, more RAM, longer render times.
Matching method to deliverable
- Progress tracking and as-built documentation: Photogrammetry is typically sufficient and cheaper to run.
- Stockpile volumes and cut/fill calculations: Both work, but LiDAR holds accuracy on uniform surfaces where photogrammetry struggles. Always verify against a surveyed check point.
- Corridor and utility surveys under vegetation: LiDAR is the practical choice, it penetrates canopy that blocks photogrammetric feature matching.
- Facade and structural inspection: Photogrammetry gives you the visual detail; LiDAR gives you the geometry. Many inspection workflows want both.
- Change detection over time: Photogrammetry, provided you fly the same route and lighting each time. LiDAR change detection is possible but harder to compare across flights without careful registration.
Sensor and ecosystem compatibility
Before committing to a method, confirm your software reads the metadata your sensor writes. Photogrammetry engines depend on EXIF data and camera profiles; some handle rolling-shutter sensors poorly, warping orthomosaic edges. LiDAR workflows depend on the point cloud format and trajectory data your payload produces, not every platform ingests every LiDAR format, and some require preprocessing before the points are usable.
Best Drone Mapping Software for Construction: Key Capabilities
The best drone mapping software for construction delivers four things: survey-grade accuracy, clean exports, integration with existing tools, and predictable processing times. Everything else is secondary.
Look for these capabilities when you evaluate options:
- Ground control point (GCP) and RTK/PPK support: This is what separates a pretty model from a georeferenced deliverable. Without it, your coordinates drift.
- Coordinate reference system handling: Your software must output in the CRS your surveyor and engineer expect.
- Export formats: Orthomosaics as GeoTIFF, point clouds as LAS or LAZ, meshes as OBJ or FBX. If a format is missing, your downstream workflow breaks.
- Volumetric calculation tools: Built-in stockpile and cut/fill measurement saves a round trip through CAD.
- Automated inspection features: Change detection between flights flags where the site has moved.
How to Create 3D Site Models with Drones
Creating a 3D site model with drones follows a repeatable sequence: plan the flight, capture overlapping imagery, process it into a point cloud and mesh, then georeference and export. Rushing any stage shows up in the final model.
What You’ll Need
- A drone with a stabilized camera or LiDAR payload
- Ground control points or an RTK/PPK-equipped aircraft
- Mapping software (cloud or desktop)
- A machine or cloud plan sized to your image count
Step 1: Plan the Flight [Time: 20-30 minutes]
Define your area of interest, set your altitude, and choose your overlap. Nadir capture (camera pointing straight down) suits orthomosaics; add oblique passes for facades and vertical structures. Flight planning apps generate the grid automatically.
Expected Result: A saved flight plan with defined altitude, overlap, and coverage.
Step 2: Set Ground Control [Time: 30-60 minutes]
Place and survey your GCPs before flying, or rely on RTK/PPK corrections if your aircraft supports them. This step determines your final accuracy.
Expected Result: Known coordinates your software can tie the model to.
Step 3: Capture Imagery [Time: 20-45 minutes]
Fly the plan and confirm image overlap as you go. Watch for sun angle and shadows; harsh shadows complicate feature matching.
Expected Result: A complete image set with no gaps.
Step 4: Process and Georeference [Time: 1-3 hours]
Upload or import your images, run alignment, and let the software build the point cloud and mesh. Apply your GCPs or correction data during this stage.
Expected Result: A georeferenced point cloud and mesh.
Step 5: Export and Review [Time: 15-30 minutes]
Export your orthomosaic, DSM, and mesh in the formats your team needs. Check accuracy against a known measurement before you hand anything off.
Expected Result: Deliverables your engineer or surveyor can open directly.
Drone Mapping Workflow Best Practices
Consistency beats sophistication in a mapping workflow. A simple process repeated the same way every flight produces comparable data, and comparable data is what makes change detection and progress tracking work.
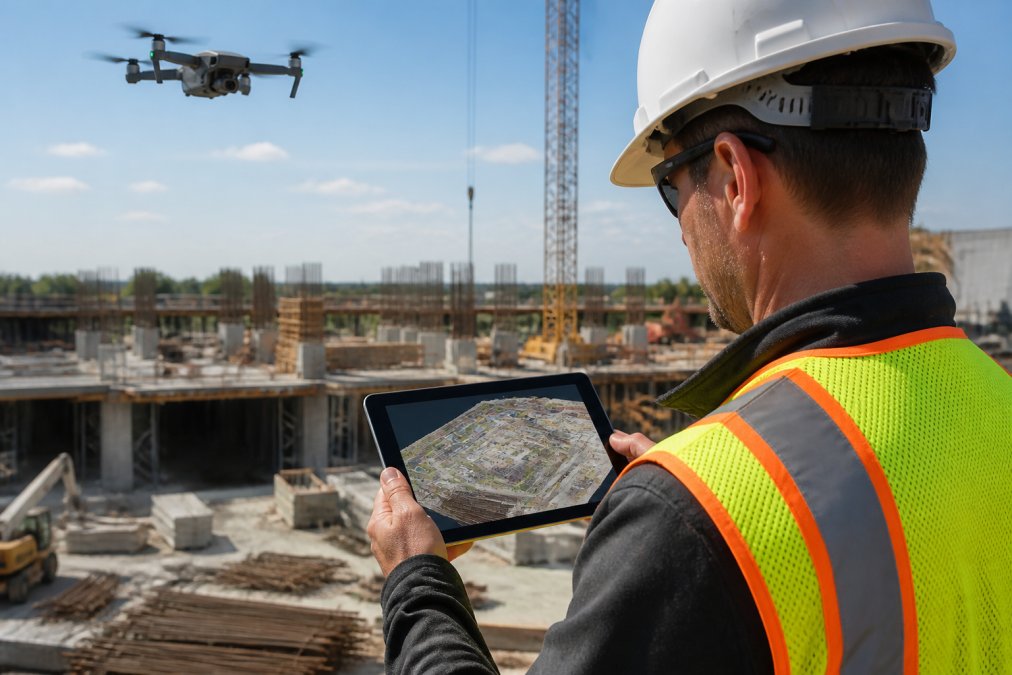
- Fly the same route, same altitude, same time of day. Lighting consistency makes change detection far easier.
- Log every flight. Note weather, sun angle, and any deviations from the plan.
- Keep your GCPs in place across flights when you’re tracking progress on the same site.
- Version your exports. Overwriting last week’s orthomosaic destroys your ability to compare.
- Check accuracy on every job, not just the first one. A quick measurement against a known distance catches drift early.
Frequently Asked Questions
What is the best drone mapping software for construction sites?
The best drone mapping software for construction depends on your workflow. Look for platforms that support both photogrammetry and LiDAR, offer survey-grade accuracy, and export to formats your team already uses. Tools with cloud processing and real-time collaboration features help multiple crews stay synced. Prioritize software that handles orthomosaics, point clouds, and volumetric calculations, since these are the outputs construction managers rely on most for progress tracking and subcontractor verification.
Is LiDAR or photogrammetry better for 3D site modeling?
LiDAR captures precise elevation data through vegetation and low-light conditions, making it better for terrain modeling and dense sites. Photogrammetry uses overlapping aerial imagery to build detailed 3D models and orthomosaics, which works well for open construction sites and topographic maps. Many projects benefit from combining both: photogrammetry for visual context and LiDAR for accurate ground elevations. Your choice depends on site conditions, budget, and the level of survey-grade accuracy required.
How do I create 3D site models with drones?
To create 3D site models with drones, start by planning a flight with sufficient overlap (typically 70-80%) and placing ground control points for georeferencing. Capture nadir and oblique images across the site, then upload them to mapping software that performs image stitching and mesh generation. The software produces a georeferenced point cloud, digital surface model, and orthomosaic. Review accuracy against your control points before exporting to your project management tools.
What are the hardware requirements for drone mapping software in 2026?
Cloud-based platforms require only a reliable internet connection and a modern browser, making them accessible from any job site. Desktop software for photogrammetry and LiDAR processing demands a multi-core processor, at least 32 GB of RAM, a dedicated GPU, and ample SSD storage for large datasets. If you process high-resolution imagery or point clouds frequently, invest in a workstation with 64 GB RAM or more to reduce rendering times and handle larger projects without bottlenecks.