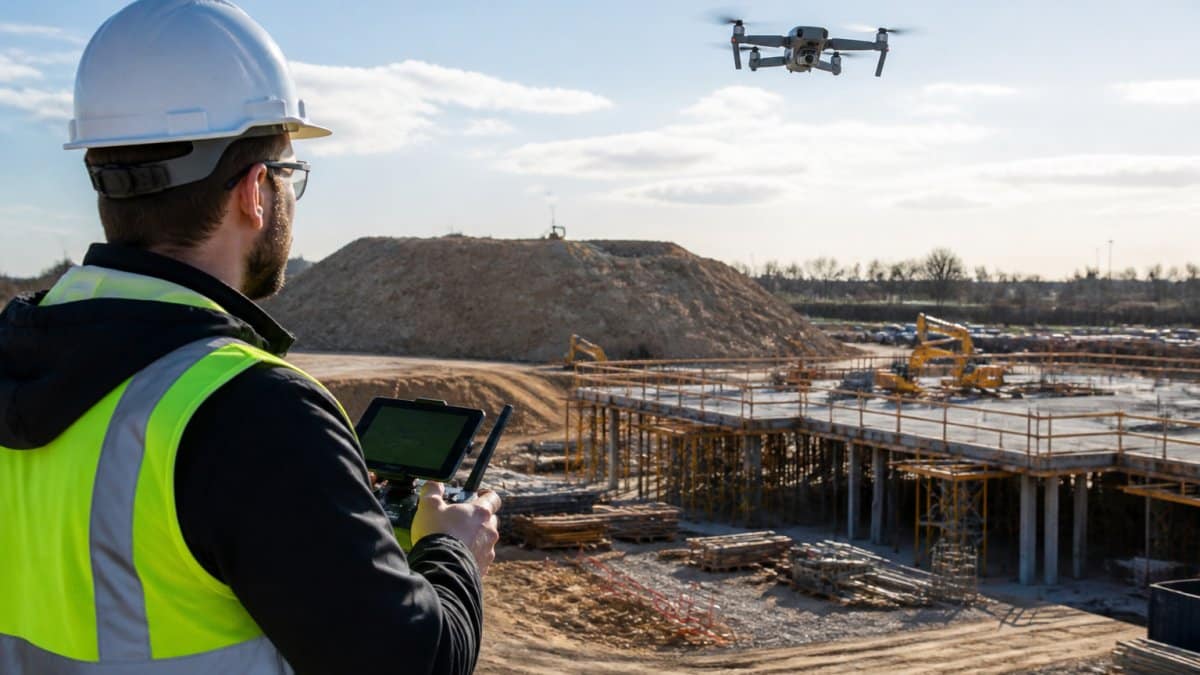
How to Perform Drone Photogrammetry for Construction Sites
Table of Contents
- What Drone Photogrammetry Is and Why It Matters for Construction
- Essential Hardware and Sensor Requirements
- Understanding Ground Control Points for Drone Surveying
- Flight Planning and Data Collection Workflow
- Drone Mapping Software for Construction Data Processing
- FAA Part 107 Requirements for Construction Drone Operations
- Construction Progress Tracking with Drones: From Capture to Insights
- Common Post-Processing Challenges and Solutions
- Frequently Asked Questions
Last Updated: October 2, 2026
What Drone Photogrammetry Is and Why It Matters for Construction
Learning how to perform drone photogrammetry for construction sites involves capturing aerial images from unmanned aircraft and converting them into precise 3D models and detailed maps.
The method works by taking hundreds of overlapping photos from different angles.
Teams now have real-time visual proof of what’s happening on jobsites, with centimeter-level accuracy that drives smarter decisions.
Drone photogrammetry catches grading errors in days, not weeks, before costly rework becomes necessary.
Essential Hardware and Sensor Requirements
Performing drone photogrammetry for construction sites requires specific equipment. You need a professional-grade drone, a high-resolution camera, and often additional sensors.
Drone Platform
Camera Specifications
Ground Control Points (GCP) Equipment Ground control points are physical markers placed on the jobsite before flight. They anchor your aerial imagery to real-world coordinates. You’ll need:
- Reflective or colored ground targets (12-24 inches across)
- A survey-grade GPS unit or RTK receiver for precise positioning
- Measuring tape and marking tools
LiDAR Sensors (Optional but Powerful) LiDAR sensors emit laser pulses and measure reflections to build dense point clouds. They work in overcast conditions and penetrate vegetation better than cameras alone. For infrastructure inspection or terrain modeling, LiDAR adds significant value.
Understanding Ground Control Points for Drone Surveying
Ground control points are the foundation of accurate drone photogrammetry for construction sites. They transform raw aerial images into georeferenced data that matches real-world locations.
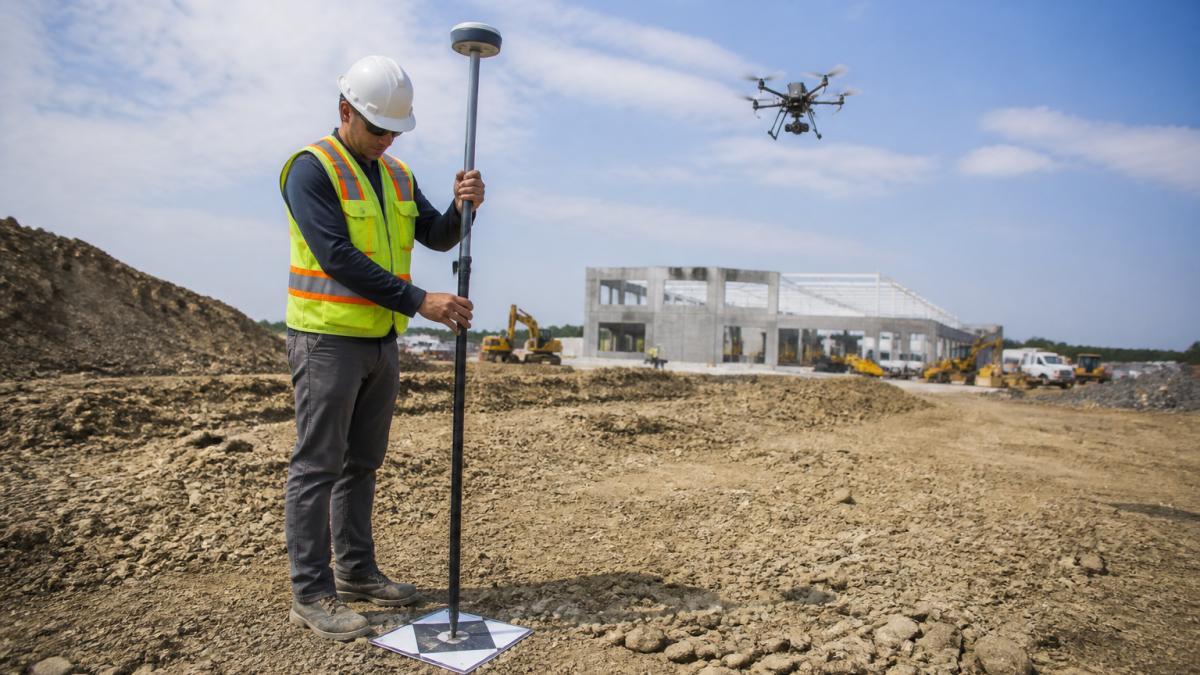
How GCPs Work Place physical markers on the ground before flight. Software matches target locations in images to their GPS coordinates, anchoring your dataset through georeferencing.
Placement Strategy Place one target per 2-3 acres on flat, stable ground (concrete slabs preferred). Ensure targets appear in multiple images and won’t move between survey and flight.
Survey-Grade Accuracy
Flight Planning and Data Collection Workflow
Understanding how to perform drone photogrammetry for construction sites begins with careful flight planning.
Step 1: Define Your Survey Area Mark project boundaries and extend slightly beyond to capture context for edge reference points.
Step 2: Set Flight Parameters
Step 3: Plan Your Flight Path Use grid patterns with parallel flight lines. Flight planning software calculates spacing automatically.
Step 4: Conduct the Flight Fly midday in calm conditions with consistent lighting. Document weather, wind speed, and obstacles.
Step 5: Verify Image Quality Review sample images for focus, exposure, and coverage.
Drone Mapping Software for Construction Data Processing
After data collection, specialized software transforms your images into actionable models. The right tool depends on your accuracy needs, technical skill, and integration requirements with your existing construction workflows.
What Processing Software Does
Processing software aligns overlapping images by matching visual features, then builds a 3D point cloud. From this, it generates orthomosaics (overhead maps) and digital surface models (DSMs) showing terrain and structure heights.
Key Processing Steps and Quality Checkpoints
- Image Alignment: Software matches visual features across overlapping photos. Alignment can be affected if images are blurry, uniform, or lack overlap.
- Point Cloud Generation: Software triangulates matched features in 3D space, creating a dense point cloud. Higher density can reveal finer details.
- Point Cloud Filtering and Cleaning: Filtering removes noise from reflections, moving objects, or processing artifacts. This step is critical for accurate orthomosaics and DSMs.
- Mesh Creation: Software connects point cloud points into a continuous 3D surface, capturing terrain and structural detail without over-smoothing.
- Orthomosaic Creation: Images are projected onto the DSM and stitched into a seamless, georeferenced overhead map comparable to design blueprints and previous flights.
- GCP Integration and Georeferencing: If you collected ground control points, software now matches their image locations to their surveyed GPS coordinates. This anchors the entire model to real-world coordinates and corrects any drift from the drone’s onboard GPS.
Output Validation Before Delivery
Before you use processed data for construction decisions, validate it:
- Point Cloud Density Check: Examine the point cloud in 3D viewer software. Sparse areas (fewer than 100 points per square foot) indicate alignment problems or insufficient image overlap. Refly those zones if density is inadequate.
- Orthomosaic Seam Inspection: Look for visible seams, color discontinuities, or ghosting (blurred double-images) in the orthomosaic. These indicate alignment errors or moving objects during flight. Minor seams are acceptable; major ones require reprocessing or reflight.
- Vertical Accuracy Check: If you placed GCPs, compare their positions in the processed model against their surveyed coordinates. Discrepancies larger than 2-3 centimeters suggest GCP placement errors or insufficient GCP distribution.
- Comparison to Previous Flights: If this is a repeat survey, overlay the new orthomosaic on the previous one. Areas that should be identical (building footprints, roads, stable terrain) should align perfectly. Systematic shifts indicate georeferencing problems.
Cloud-Based vs. Desktop Processing
Cloud-based platforms handle processing on remote servers. Desktop software offers full control but requires a powerful workstation.
FAA Part 107 Requirements for Construction Drone Operations
Flying drones commercially requires FAA Part 107 certification. Construction sites have specific regulatory requirements.
Remote Pilot Certification You or your pilot must hold a Part 107 Remote Pilot Certificate, requiring a 2-3 hour written exam on airspace rules, weather, aircraft performance, and safety.
Operational Limits Part 107 rules require daylight flight, visual line of sight, and adherence to altitude limits.
Construction Site Considerations Obtain written permission from the property owner, coordinate with site management, check for nearby airports and restricted airspace, and notify any helicopter operations. Professional operators carry liability insurance covering drone operations.
Construction Progress Tracking with Drones: From Capture to Insights
Raw drone data only becomes valuable when you extract actionable insights. This section covers how to transform imagery into project intelligence.
Baseline and Comparison Flights Establish a baseline flight early, then conduct repeat flights weekly, biweekly, or monthly.
Change Detection Software highlights terrain and structure changes with color-coded overlays showing material additions or removals.
Volume Calculations 3D models enable precise volume measurement for stockpiles and cut-and-fill analysis, preventing overordering and catching inventory discrepancies.
Subcontractor Accountability Drone documentation provides objective proof of work completion, resolving scope disputes with aerial imagery and 3D models.
Common Post-Processing Challenges and Solutions
Even with good data collection, processing sometimes reveals problems.
Blurry or Out-of-Focus Images
Prevention: Clean your camera lens before each flight.
Recovery: Exclude blurry images from alignment if only a few are affected.
Inconsistent Lighting and Shadows
Recovery: Reprocess with reduced alignment sensitivity. Alternatively, refly in better lighting.
Insufficient Image Overlap
Prevention: Use flight planning software to calculate overlap automatically.
GPS Drift Without Ground Control Points
Prevention: Always collect GCPs on construction sites.
Software Processing Failures and Alignment Errors
Prevention: Ensure visual variety in survey areas; avoid blank concrete or uniform vegetation.
Systematic Vertical Errors (Z-Axis Drift)
Prevention: Distribute GCPs evenly (one per 2-3 acres) on stable, flat ground.
Recovery: Review GCP positions in the processed model.
Data Validation Checklist Before Using Processed Data
- Orthomosaic Quality: Examine at 100% zoom for seams, color discontinuities, or ghosting. Minor imperfections are acceptable.
- Point Cloud Density: Aim for 100-200 points per square foot in critical areas. Sparse regions indicate alignment problems.
- GCP Accuracy: Verify GCP positions match surveyed coordinates within 1-2 centimeters horizontally and 2-3 centimeters vertically.
- Comparison to Design: Overlay orthomosaics on blueprints or previous surveys. Systematic shifts indicate georeferencing errors.
- Volume Calculations: Process the same area twice and compare results. Discrepancies larger than 5% warrant investigation.
Frequently Asked Questions
What is the process of drone photogrammetry for construction?
Drone photogrammetry captures overlapping aerial images from a planned flight path, then uses structure-from-motion software to stitch them into a 3D point cloud and orthomosaic. The process starts with flight planning that ensures adequate image overlap (typically 75-80%), continues with data collection at a specified altitude and speed, and finishes with software processing that georeferencing the images using ground control points. This creates survey-grade accuracy models that construction teams use for progress monitoring, volume calculations, and as-built documentation.
How do you ensure accuracy in drone photogrammetry for construction sites?
Accuracy depends on three factors: proper ground control points placed at known coordinates, high-resolution camera sensors with appropriate ground sampling distance, and correct georeferencing in post-processing software. Ground control points are marked targets on the site whose real-world coordinates are measured using RTK/PPK positioning or traditional surveying. During flight, maintain consistent altitude and overlap percentages. In software, verify that the point cloud aligns with your GCPs before generating final deliverables. Most construction applications achieve centimeter-level accuracy when these steps are followed correctly.
What FAA regulations apply to commercial drone photogrammetry on construction sites?
Commercial drone operations must comply with FAA Part 107 regulations, which require a licensed Part 107 pilot-in-command on site. Key rules include maintaining visual line of sight, operating only during daylight, keeping the drone below 400 feet above ground level, and maintaining a 500-foot horizontal distance from people not involved in the operation. Construction sites may have additional restrictions depending on proximity to airports. Before each flight, check airspace restrictions using tools like B4UFLY and notify any local air traffic control facilities if required. Part 107 certification ensures safe, legal operations.
How often should construction teams perform drone mapping to track project progress?
Frequency depends on project phase and budget. During active construction, weekly or bi-weekly flights provide clear progress visibility and early detection of grading or structural errors. Foundation and framing phases benefit from more frequent captures since changes are rapid. Later phases like finishing may shift to monthly intervals. Regular construction progress tracking with drones also creates a documented timeline of the project lifecycle, which is valuable for insurance claims, subcontractor verification, and final as-built records. Establish a schedule that balances your monitoring needs with operational costs.