How to Use LiDAR Mapping Technology on Construction Sites
Quick Summary
LiDAR mapping is a remote sensing method that measures distance with laser pulses, timing how long each pulse takes to bounce back from the ground and structures. Millions of these measurements form a dense three-dimensional point cloud of the site. Because LiDAR supplies its own light, it captures usable data in shade, at dawn, or over bare dirt.
- Drone-mounted LiDAR is the most common choice for active construction sites because it balances coverage, accuracy and schedule.
- Match the platform to site size, accuracy needs, site access and deadline before choosing a sensor.
- Place ground control points, since skipping them is the most common cause of vertical error.
- Check the classified ground surface against surveyed control points before accepting any point cloud.
- Use bare-earth models for earthwork volumes and full-surface snapshots for progress documentation.
Table of Contents
- What LiDAR Mapping Is and How the Laser Measures Distance
- Choosing a Platform and Sensor for Your Project
- LiDAR vs Photogrammetry: Which Method Fits Your Site
- Step-by-Step LiDAR Mapping Workflow From Flight Plan to Delivery
- LiDAR Point Cloud Processing and Classification in Practice
- Building 3D Site Models and Checking Accuracy
- Booking Your First LiDAR Survey With SkyeTech Aerial
- Frequently Asked Questions
What LiDAR Mapping Is and How the Laser Measures Distance
Last Updated: November 7, 2026
LiDAR, short for light detection and ranging, is a remote sensing method that measures distance with laser pulses. A LiDAR sensor fires rapid pulses of light at the ground, equipment and structures around a site, then times how long each pulse takes to bounce back.
LiDAR is an active sensor, meaning it supplies its own light (EROS Plays Major Role in Evolution of Lidar Technology and Applications). That matters on a job site.
Laser pulses, return signals and time-of-flight measurement
The core idea is simple. Light travels at a known speed, so the time between sending a pulse and receiving its return gives the distance to the surface it hit.
A few terms come up often:
- Laser pulse: A short burst of light sent from the sensor.
- Return: The reflected signal the sensor records after a pulse hits a surface.
- Multiple returns: A single pulse can bounce off tree canopy, then bare ground, and each reflection is recorded separately. This helps map the ground under vegetation.
Each return is combined with the sensor’s exact position, usually from GPS (GNSS) and an inertial measurement unit (IMU). That georeferencing step places every point at the correct real-world location.
Choosing a Platform and Sensor for Your Project
The right LiDAR setup depends on the size of your site, how fast you need results, and how much detail you need. A sensor on a drone, a mobile system on a truck, and a tripod-mounted terrestrial scanner each suit different jobs. Rather than picking a platform first, work backward from the decisions the data must support.
A decision framework: match the platform to the project
Start with four questions. The answers narrow the platform choice quickly.
- How large is the area? A single building pad, a subdivision, a highway corridor, and a regional watershed each point to a different platform.
- What accuracy do you need? Earthwork volume calculations, grading verification, and as-built documentation each carry different vertical-accuracy requirements. Ask what tolerance the downstream decision can absorb.
- What access does the site allow? Dense canopy, active traffic, interior spaces, and restricted airspace each rule out certain platforms.
- What is the deadline and budget? A single-flight-day drone mission and a multi-week terrestrial scan campaign carry very different schedules and cost structures.
Airborne, drone, mobile and terrestrial systems compared
- Airborne (fixed-wing or helicopter): Covers very large areas, highway corridors, regional terrain, floodplain mapping, in a single mission. Altitude limits point density, so airborne LiDAR suits broad topographic work more than detailed site work. Mobilization and flight costs are highest here, which is why it is reserved for large extents.
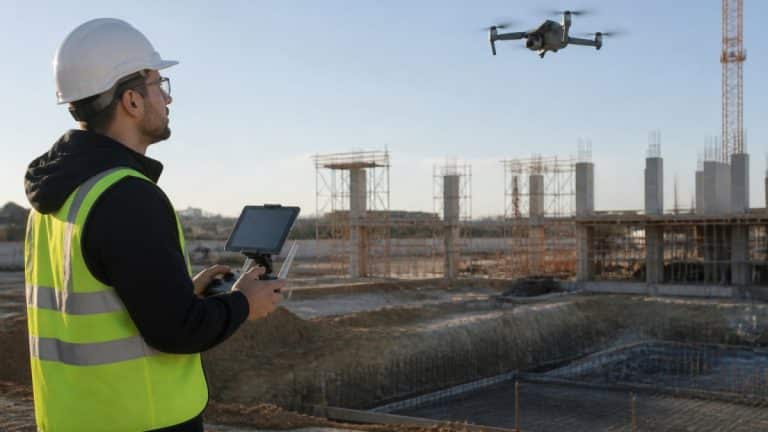
- Drone (UAV): Drone-mounted LiDAR gives strong coverage of a single site, a building pad, stockpile yard, or subdivision phase, with good detail at a reasonable cost. It is the most common choice for active construction sites because it balances coverage, accuracy, and schedule. Flight altitude and overlap settings directly control point density, so the same drone can serve a rough progress scan or a tight grading check.
- Mobile: Sensors mounted on a vehicle capture roads, corridors, and utilities while driving at highway speed. Mobile mapping excels at linear infrastructure, road surfaces, rail corridors, and utility rights-of-way, where the vehicle can follow the asset. It is less suited to open terrain the vehicle cannot reach.
Matching sensor specifications to the job
Beyond platform type, the sensor itself sets the ceiling on what you can deliver. Three specifications matter most:
- Pulse repetition rate (pulses per second) drives how many measurements the system collects. Higher rates support denser point clouds but generate larger files and longer processing.
- Scan pattern and field of view determine how evenly the sensor covers the ground. A narrow field of view concentrates points but requires more passes; a wide field of view covers more ground per pass with less density at the edges.
- Maximum measurement range limits flight altitude and standoff distance. Flying higher to cover more ground reduces point density on the surface, so range and density trade off directly.
A common pattern is to over-specify the sensor and then under-plan the flight. The flight plan, altitude, overlap, and ground control, usually affects final accuracy more than the sensor model does.
Combining platforms on one project
For most construction sites, a drone system gives the best balance of speed, coverage, and detail. Terrestrial scanning fills in the gaps where a drone cannot see well, such as under overhangs, inside buildings, or beneath dense canopy.
Watch out: mixing platforms without a shared control network is a common cause of misalignment when the point clouds are merged.
The table below sums up the main LiDAR platform types and where each one fits best.
| Platform | Best for | Key difference |
|---|---|---|
| Airborne (fixed-wing or helicopter) | Very large areas such as highway corridors and regional terrain | Covers the most ground in one mission but gives lower point density |
| Drone (UAV) | Single sites such as building pads, stockpile yards and subdivision phases | Balances coverage, accuracy and schedule for active sites |
| Mobile (vehicle-mounted) | Roads, rail corridors and utility rights-of-way | Captures linear assets while driving at highway speed |
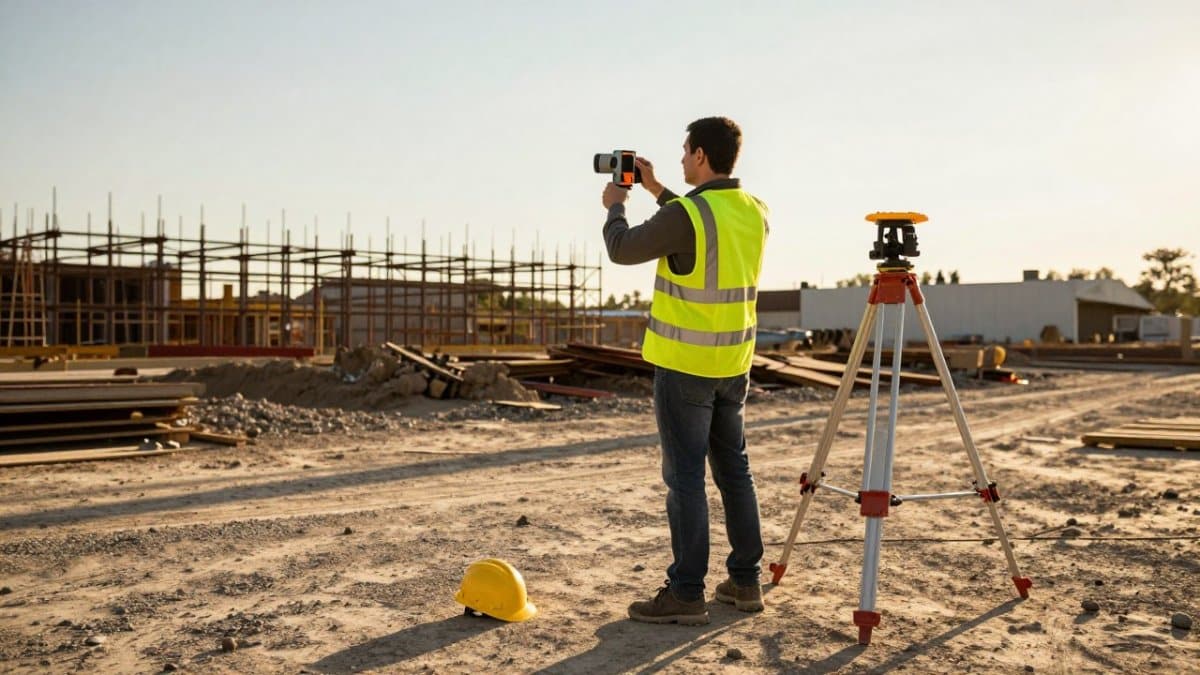
| Terrestrial (tripod-mounted) | Building interiors, facades, mechanical rooms and bridge undersides | Very fine detail, but slower because each scanner position is set up separately |
LiDAR vs Photogrammetry: Which Method Fits Your Site
Photogrammetry builds 3D models from overlapping photos. LiDAR measures distance directly. Both produce useful site data, but they behave differently.
Photogrammetry depends on lighting and surface texture. It works well on sites with clear features and good sun. LiDAR does not need texture, so it performs better over bare soil, dense vegetation, and low-light conditions.
On the other hand, photogrammetry is often cheaper and produces realistic color imagery, which helps with visual progress reports. Together, these complementary outputs make accurate measurements for CAD a natural next step when site data needs to inform design work.
Step-by-Step LiDAR Mapping Workflow From Flight Plan to Delivery
A clear workflow keeps a survey on schedule and avoids gaps in the data.
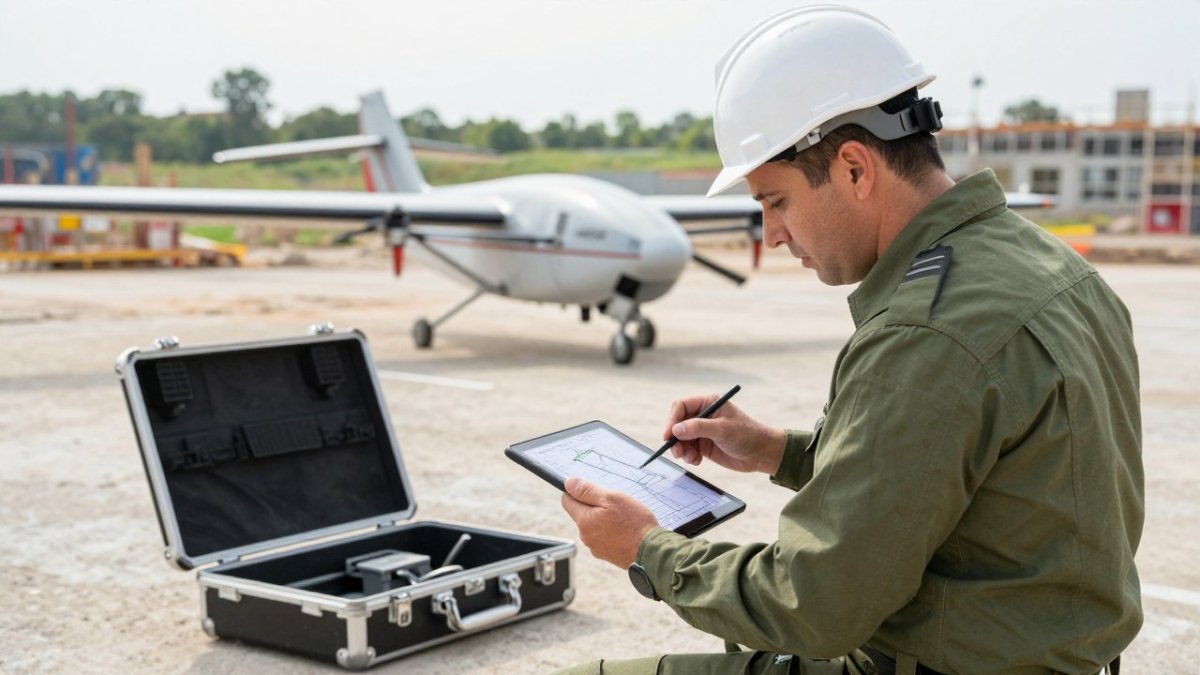
- Define the goal. Decide what you need: earthwork volumes, progress tracking, or a site model. This sets the required accuracy and point density.
- Plan the flight. Set the flight path, altitude and overlap so the sensor covers every area. Note any obstacles and restricted zones.
- Check the airspace and rules. Drone flights in the United States must follow FAA Part 107 standards. Confirm permissions before the flight date.
- Place ground control points. Survey marked points on the ground with known coordinates. These anchor the data and improve vertical accuracy.
- Collect the data. Fly the mission, then check the raw data for coverage gaps before leaving the site.
- Process the point cloud. Combine the sensor data with GPS and IMU records, then georeference the results.
- Deliver the outputs. Common deliverables include a classified point cloud, a digital terrain model, contour lines, and volume reports.
Watch out: skipping ground control points is the most common cause of vertical error. Without them, elevation numbers can drift enough to throw off grading and volume calculations.
LiDAR Point Cloud Processing and Classification in Practice
Raw point clouds are not useful until they are cleaned and classified. Each point must be labeled as ground, vegetation, building, or noise before you can build a terrain model.
From raw returns to a classified point cloud
Processing moves through a predictable sequence. Each step builds on the last, and skipping one usually shows up as an accuracy problem later.
- Trajectory and georeferencing. The sensor’s GPS (GNSS) and inertial measurement unit (IMU) records are combined into a trajectory, the precise path the sensor traveled. Every return is then placed at its real-world coordinate using that trajectory. Errors here propagate through everything downstream, so trajectory quality is checked first.
- Noise filtering. Isolated points that do not belong to any surface, from birds, moving equipment, or atmospheric returns, are removed. Left in place, these points create false spikes in elevation models.
- Ground classification. Points are sorted by height and return pattern to identify the bare-earth surface. Multiple-return data helps here: a pulse that hit canopy and then ground produces a lower return that classification can use to find the ground beneath vegetation.
- Above-ground classification. Once ground is identified, remaining points are grouped into vegetation, buildings, and other features. Height above the ground surface and point clustering drive these decisions.
- Quality checks. The classified cloud is compared against ground control points and independent survey checks before any model is built.
Classification decisions that affect your deliverables
Classification is not fully automatic. Several judgment calls change what the final data shows:
- Bare-earth versus full-surface. A bare-earth surface strips out equipment, stockpiles, and temporary structures to reveal the underlying terrain. A full-surface model keeps everything for a snapshot of current conditions. Earthwork volume calculations usually need the bare-earth version; progress documentation often needs both.
- Vegetation handling. Low vegetation can be misclassified as ground if the classifier is too aggressive, which flattens the terrain model. Dense canopy requires multiple-return data and careful tuning to reach the true ground surface.
- Building and structure edges. Points at rooflines and wall edges are ambiguous. How the classifier handles them affects facade measurements and as-built comparisons.
Point density matters throughout. Higher density gives more detail but creates larger files and longer processing times. Match the density to the decision you need to make, rather than always choosing the highest setting. A stockpile volume check and a facade as-built survey do not need the same density.
Quality-control checks before delivery
Before accepting a classified point cloud, confirm a few things:
- Ground control agreement. The classified ground surface should match your surveyed control points within the stated vertical accuracy. Ask for the comparison, not just the specification.
- Coverage gaps. Check that no area of the site is missing points, gaps often appear at flight boundaries or where the sensor could not see.
- Classification spot checks. Review sample areas of dense vegetation, building edges, and bare ground to confirm points landed in the right class.
Watch out: accepting a point cloud without a ground-control comparison is the most common way vertical error slips into a project. The specification on paper and the validated accuracy on your site are not always the same number.
Building 3D Site Models and Checking Accuracy
Once the point cloud is classified, you can build a digital terrain model (DTM), a digital surface model (DSM), and a 3D site model.
Accuracy needs checking, not assuming. Compare your results against known control points and independent survey checks.
One customer, Amanda F. of Power Communications, told us that SkyeTech’s highly detailed images “helped us spot errors in grading early, saved us thousands.”
Booking Your First LiDAR Survey With SkyeTech Aerial
If you are considering LiDAR for your next project, start with a clear list of what you need the data to answer.
SkyeTech Aerial flies missions with FAA-certified drone pilots, under FAA Part 107 standards, and our operations are fully insured. We use platforms like DroneDeploy, Pix4D and DJI Terra.
Pricing depends on site size, required accuracy, delivery format and timeline, so we provide a custom quote for each project. Request a free quote and our team will walk you through the options.
Frequently Asked Questions
What does LiDAR mapping do?
LiDAR mapping uses pulsed laser light to measure the distance from a sensor to surfaces on the ground and above it. Each pulse returns a time-stamped signal, and combining millions of these measurements with GPS and inertial data produces a dense point cloud. That cloud can be converted into topographic maps, elevation models and 3D site models. Construction and infrastructure teams use it to calculate earthwork volumes, check grading against design plans and document conditions that are hard to reach on foot.
What are the primary advantages of LiDAR over photogrammetry for site mapping?
LiDAR measures distance directly rather than inferring depth from overlapping photos, so it performs better where ground is hidden by vegetation or where surfaces are featureless, such as bare soil, water or shadowed areas. Its returns can also pass through gaps in tree canopy to capture the ground beneath. Photogrammetry remains cost-effective for color orthomosaics and visual records. Many projects use both, with LiDAR supplying the elevation data and imagery supplying the visual context.
How does LiDAR mapping improve accuracy in 3D site modeling?
Accuracy depends on sensor quality, flight altitude, GPS and inertial calibration, and the number of ground control points used during processing. Properly calibrated systems can produce vertical accuracy suitable for grading verification, but the results must be validated against surveyed checkpoints rather than assumed. Ask your provider for the accuracy specification, the validation method and the checkpoint report before relying on any model for payment or compliance decisions.
Is LiDAR mapping compatible with FAA drone regulations?
Yes. Drone-based LiDAR flights in the United States are conducted under the Federal Aviation Administration’s Part 107 rules for small unmanned aircraft, which require a certified remote pilot and compliance with airspace and operating limits. Pilots should also confirm airspace authorization where needed and follow local rules for flights near people and property. Choose a provider that operates to Part 107 standards and carries liability insurance.