How Can You Improve Drone Mapping Accuracy?
Quick Summary
Drone mapping accuracy depends mostly on planning and setup rather than the aircraft itself. The main levers are placing ground control points across the whole site, choosing RTK or PPK positioning, flying at an altitude matched to the smallest feature you need, setting adequate image overlap, and checking results against independent checkpoints.
- Spread ground control points near the corners, edges, and high and low spots.
- Choose RTK for faster results or PPK for weak-signal conditions.
- Match flight altitude to the smallest feature you need to measure.
- Increase image overlap on complex or uneven terrain.
- Verify the map against independently surveyed checkpoints and record the error.
Table of Contents
- Why Drone Mapping Accuracy Varies from Project to Project
- 1. Set Ground Control Points Across the Site
- 2. Choose Between RTK and PPK Positioning
- 3. Plan Flight Altitude and Ground Sampling Distance
- 4. Set Image Overlap for Photogrammetry
- 5. Control Camera Settings, Lighting, and Weather
- 6. Run a Drone Survey Accuracy Check
- 7. Document Metadata and Build a Field Checklist for Every Flight
- Frequently Asked Questions
Why Drone Mapping Accuracy Varies from Project to Project
Drone mapping accuracy is not a fixed number. A survey that is precise on a flat, open parking lot can drift badly on a steep, tree-lined slope. The same drone, flown by the same crew, can produce very different results from one site to the next.
The difference usually comes down to planning and setup, not the aircraft itself.
The good news is that you can control most of the factors that affect accuracy. Below are seven practical steps you can apply on your next flight.
Watch out: Accuracy claims in a sales brochure are not the same as accuracy on your site. Always ask how the result was checked.
1. Set Ground Control Points Across the Site
Ground control points (GCPs) are marked targets placed on the ground at surveyed locations. The drone’s images are tied to these points, which anchors your map to real-world coordinates. See the step-by-step drone photogrammetry process for how this fits into a full survey.
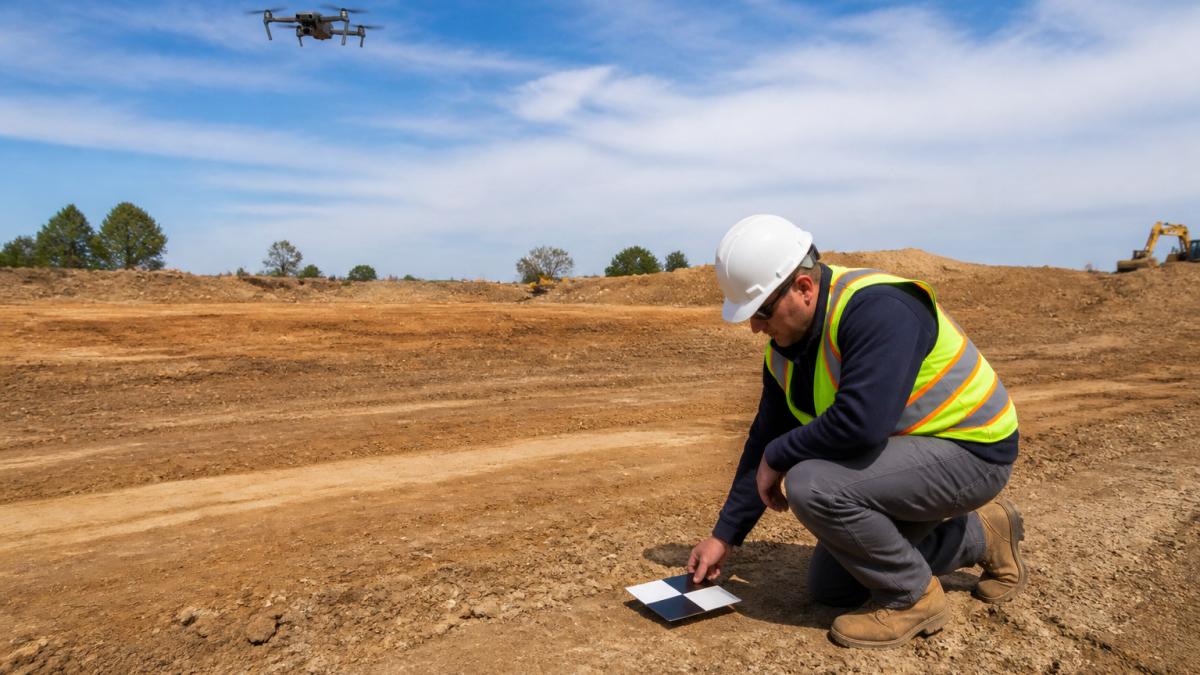
Place GCPs across the full area, not just in the middle. Spread them near the corners and edges, and include a few in high and low spots to capture elevation changes. Keep them visible from the air and away from shadows.
- Place points near the edges and corners of the site
- Add points in areas with major elevation changes
- Keep each target clear of vehicles, puddles, and debris
2. Choose Between RTK and PPK Positioning
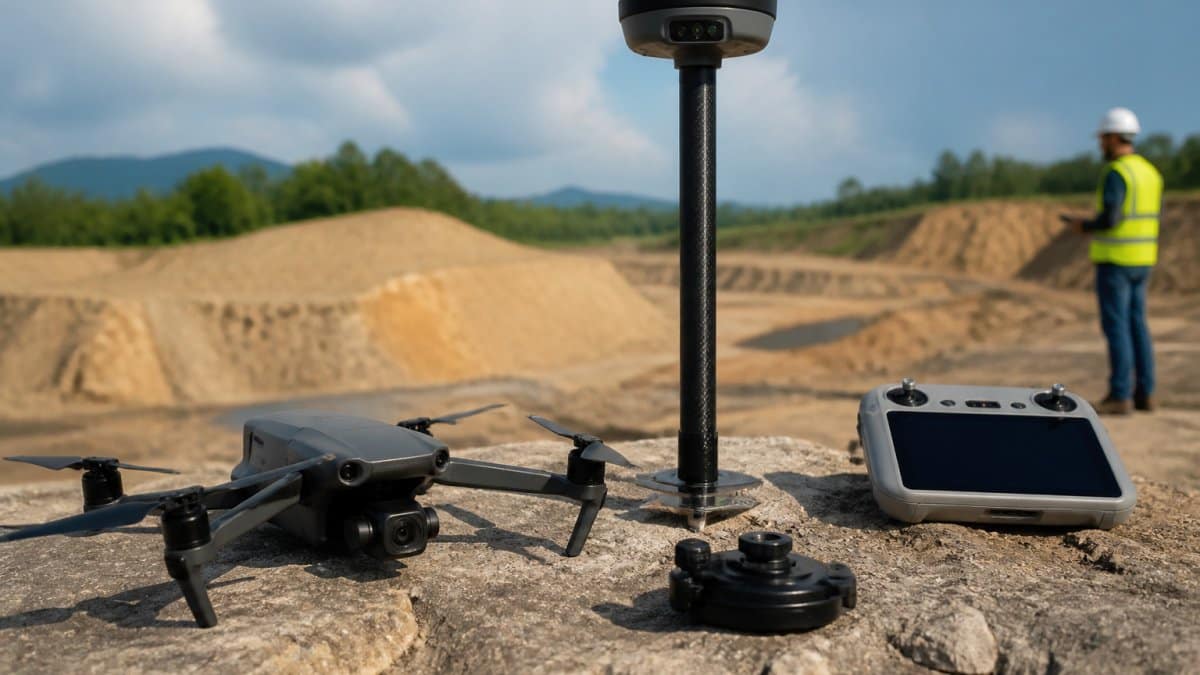
RTK (real-time kinematic) and PPK (post-processed kinematic) are two ways to improve the GPS position of each image. Both can reduce the need for dense ground control, but they work differently.
RTK corrects positions during the flight, so you can see results sooner. PPK corrects positions after the flight, which can hold up better when radio links are weak or the site is shielded by buildings or terrain.
- RTK: faster results, needs a reliable live connection
- PPK: more reliable in difficult conditions, adds a processing step
3. Plan Flight Altitude and Ground Sampling Distance
Ground sampling distance (GSD) is the size of one pixel on the ground. A lower altitude gives a smaller GSD, which means finer detail. Higher altitudes cover more ground but lose detail.
Choose your altitude based on the smallest feature you need to measure. A grading error of a few centimeters requires a far lower flight than a general site overview.
Watch out: Flying higher to finish faster often lowers accuracy on the features you care about most.
The table below summarises how altitude and ground sampling distance relate to the detail you can capture.
| Factor | Effect | Note |
|---|---|---|
| Lower altitude | Smaller GSD | Finer detail |
| Higher altitude | Larger GSD | Covers more ground, loses detail |
| Smallest feature to measure | Sets the altitude | A few centimeters needs a far lower flight |
| Flying higher to finish faster | Lowers accuracy | Hurts the features you care about most |
4. Set Image Overlap for Photogrammetry
Photogrammetry builds a map by matching the same points across overlapping photos. If the overlap is too low, the software struggles to connect the images, and errors creep in.
Most mapping projects use high forward and side overlap. Check your planning software’s recommended settings for your terrain, and increase overlap on complex or uneven ground.
5. Control Camera Settings, Lighting, and Weather
Sharp images produce better maps. Use a shutter speed fast enough to avoid motion blur, and set exposure so the images are not too dark or too bright. Shadows that move between shots can confuse the matching process.
Fly in stable conditions when you can. Wind pushes the drone off its planned path, and gusts can cause blur. Mid-day flights often give even light, while very low sun creates long shadows that change across the site. Consistent environmental variables remain difficult to manage without an experienced operator, which is why it is essential to choose licensed drone pilot expertise to ensure your flight path remains precise despite these atmospheric challenges.
6. Run a Drone Survey Accuracy Check
Do not assume the map is accurate. Compare the drone results against independently surveyed checkpoints that were not used to build the model. Learn how orthomosaic mapping for construction sites delivers measurable, usable site maps. Measure the horizontal and vertical differences, then summarize them as an error value, such as root mean square error (RMSE).
If the errors are larger than your project tolerance, find the cause before you accept the data. You can request a free quote for an expert accuracy check on your site. Common causes include weak GCP placement, poor image overlap, or a coordinate system mismatch.
7. Document Metadata and Build a Field Checklist for Every Flight
Accurate results are easier to repeat when every flight is documented. Read our guide to construction site drone mapping and analysis to see how flight records feed into delivered data. Record the altitude, GSD, overlap, camera settings, weather, GCP locations, and positioning method for each mission.
A simple checklist helps your crew stay consistent across sites:
- GCPs placed and surveyed across the full area
- Positioning method chosen (RTK or PPK) and confirmed
- Altitude and GSD match the smallest feature to measure
- Forward and side overlap set for the terrain
- Shutter speed, exposure, and lighting checked
- Weather and wind conditions logged
- Checkpoints measured and error results recorded
Frequently Asked Questions
How can I improve drone mapping accuracy?
Start with ground control points spread across the whole site, then use RTK or PPK positioning so the drone’s camera locations are accurate before processing begins. Fly with enough front and side overlap, usually around 70 to 80 percent, and keep the flight altitude consistent. Finish by checking your results against independent checkpoints that were not used in processing. Each step closes a different source of error, so skipping one usually shows up as vertical or horizontal drift in the final model.
How many ground control points do I need for drone mapping?
The right number depends on site size, terrain relief, and the accuracy your project requires. Many survey teams place control points at the corners and across the interior of the site, then hold back several separate checkpoints to test accuracy. Rugged terrain with significant elevation change generally calls for more control than a flat lot. Confirm the count against the accuracy specification in your contract, since that requirement, not a fixed rule of thumb, should drive the decision.
Is LiDAR or photogrammetry more accurate for site mapping?
Neither method is automatically more accurate. Photogrammetry builds 3D models from overlapping photos and depends heavily on ground control, lighting, and image overlap. LiDAR measures distance directly with laser pulses and often performs better under dense vegetation or low-contrast surfaces. Many projects use both, with LiDAR capturing ground beneath vegetation and photogrammetry producing high-resolution orthomosaics. The best choice depends on the surface you need to measure and the accuracy your project requires.
How can I check the accuracy of a drone map?
Place independent checkpoints that were not used as control during processing, then measure their coordinates on the finished model with a survey-grade receiver. Compare each measured point against its surveyed position and calculate horizontal and vertical error, often reported as root mean square error. Record the results in a report that lists the number of checkpoints, their locations, and the error values. Comparing the errors against your project tolerance tells you whether the map is fit for its purpose.